Library Integration Overview
Overview
The Library integration uses the open OAuth 2.0 authorization standard to perform single sign-on into your app.
What is the teacher experience?
When a teacher clicks on a new app in the Library, or via the ‘Sign Up with Clever’ button, the teacher is prompted with a consent screen to authorize Clever sharing their section (class) data with the app. Once authorized, Clever redirects the teacher to your app and you facilitate the OAuth Single Sign-On flow, using API calls to query for the user’s identity and classroom information. The teacher’s account is provisioned immediately, and the teacher is logged in to a free or freemium experience with their section and student data populated. The app is added to the Clever Portal for the teacher and their shared students, so those students can also log in to the app.
There are two entry points into your application that facilitate the teacher sign up process:
- Teachers who find you through the Clever Library and click “Install".
- Teachers who click “Sign Up with Clever” button on your website’s teacher signup page.
What data is shared?
If the teacher consents, your application will be authorized to access the following limited set of data fields for class information only belonging to that teacher. You'll use this data to automatically create user accounts and set up classes to make the signup experience as smooth and seamless as possible.
Teacher object data
- Clever ID - globally unique and stable ID for each user, created by Clever
- Name (first, middle, last)
Teacher’s shared sections, as primary or co-teacher
- Clever ID
- Name
- Section_number
- Teachers
- Students
- Subject (normalized to a set of possible values)*
- Grade (if available from the SIS)*
Student object data in those sections
- Clever ID (this is not sid_id or student_number; it’s a GUID generated by Clever)
- Name (first name, last initial)
- Grade (if available from the SIS)*
Normalized Fields
Clever normalizes certain fields to a defined set of possible values:
Subject: ["english/language arts","math","science","social studies","language","homeroom/advisory", "interventions/online learning","technology and engineering","PE and health","arts and music","other",""]
Grade: ["1", … ,"13", "PreKindergarten", "TransitionalKindergarten", "Kindergarten", "InfantToddler", "Preschool", "PostGraduate", "Ungraded", "Other", ""]
For more details on each field, and to see how the Library “teacher-shared” set of data fields compares with full rostering “district-shared” fields, please refer to Clever's Data Schema.
Why are school info, district info, and full student name not provided for Library users?
We don't share district ID, school ID, and full student name in order to limit the data shared to what most districts consider a "non-PII" signup for students. This has been instrumental in getting districts excited about the Clever Library and promoting it to their teachers as a good way to sign up for new applications. About half of our current integrated apps do require school and/or district information, and in those cases, build in as part of the onboarding flow when a teacher first logs in this way a prompt for the teacher to pick their school.
Next Steps
1. Check out a demo
Test drive the experience yourself by logging into https://clever.com/in/demo using a demo teacher account: skelly/clever, and clicking on “Library” at the top-right of the screen.
Note: The skelly/clever account is meant for you to demo the product, not for you to test your integration!
To find test users for your integration, visit Testing Your Integration (Library)
2. Set up your development app in Clever
See the Getting Started page for more details.
3. Build and test your integration
Using this guide, with additional support from Clever’s SSO developer documentation, build your OAuth 2.0 integration in a dev or staging environment. Before you get started, please review the integration requirements outlined in Certification Requirements and follow Classroom Rostering for details.
To test your integration, we’ve created a sandbox district that is intentionally not connected to your application in order to simulate a Clever teacher sign-up into your app. See Testing Your Integration for details.
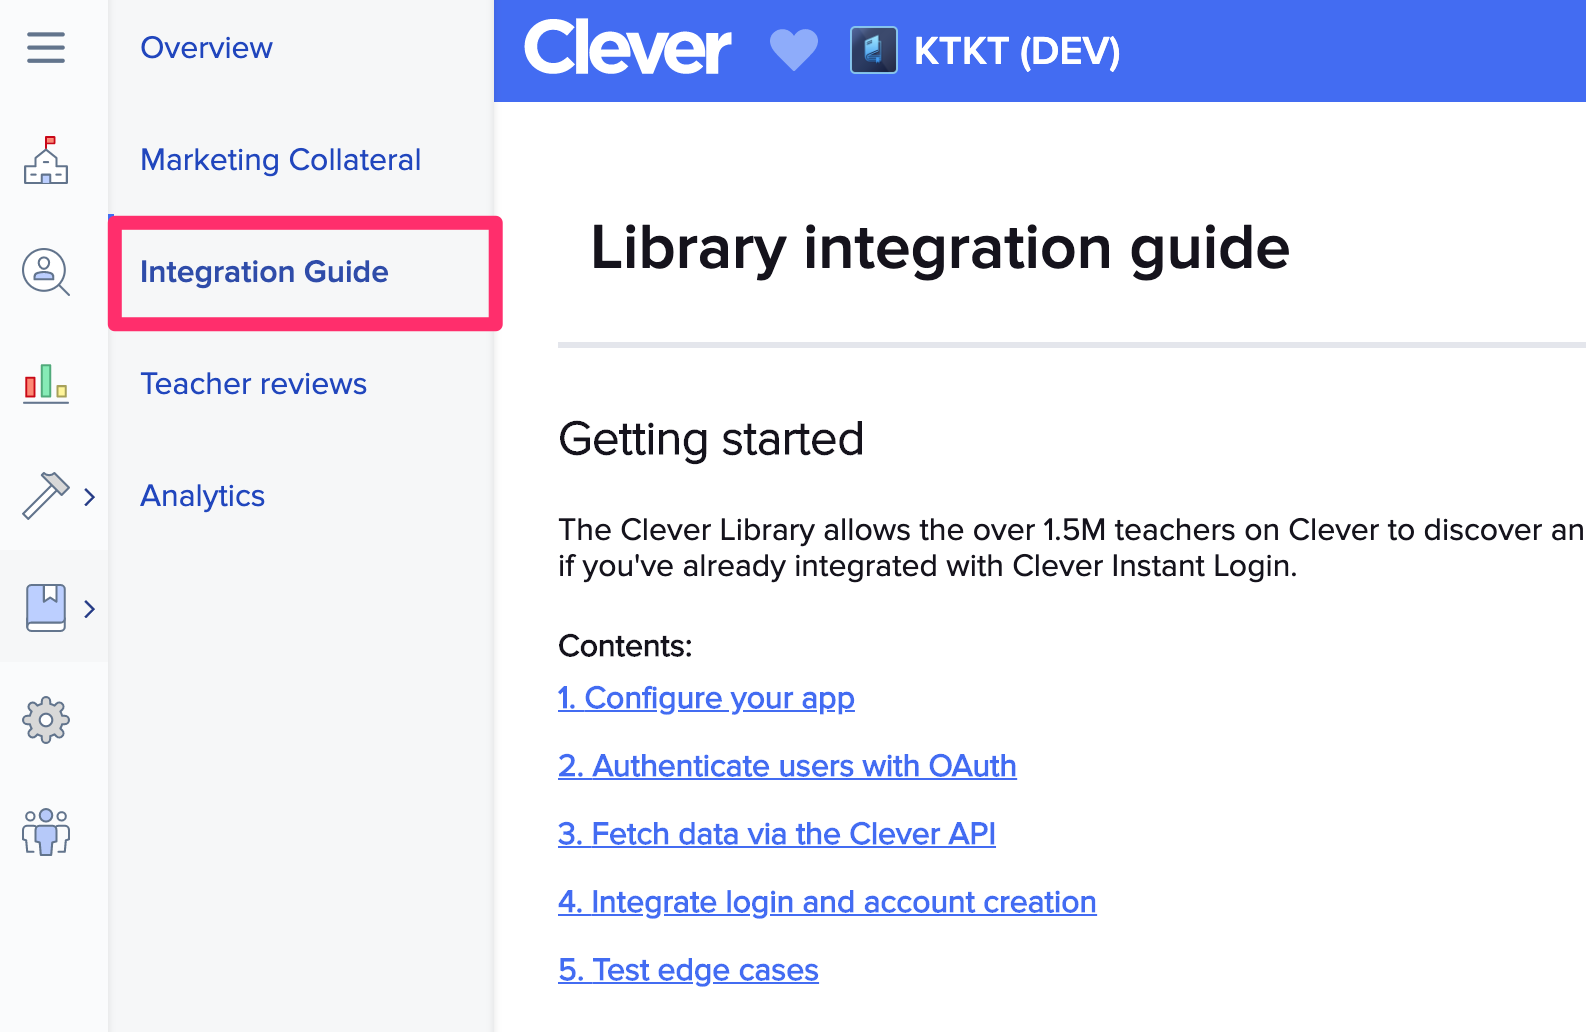
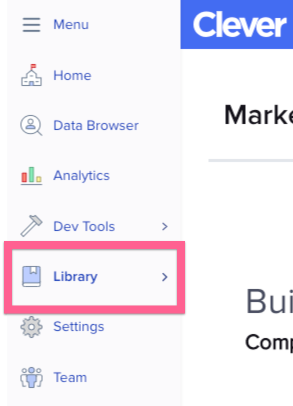
Additionally, the Clever Dashboard has a Library Integration Guide that can be used to help your build within product. You can access this within the Library tab of your Dashboard and this will help walk you through the steps needed to build and test your integration.

4. Upload marketing collateral
For us to best showcase your product in the Library, please upload the following assets by completing the Marketing Collateral wizard in the new Library tab of your dashboard. You can do this prior to submitting for certification.

Here is a preview of what we ask for:
- App name
- Tagline - Describe your app in one short sentence. (60 char max)
- Long description - A full description of your app's capabilities and features.
- App icon
- PNG file format (no transparency)
- Dimensions - 400px by 400px
- Keep the corners of your icon square; our system will automatically apply evenly rounded corner.
- Think of this as the face of your app
- 10 MB size limit
- Feature banner
- PNG file format (no transparency)
- Dimensions - 400px wide by 240px high
- This should be different than your app icon
- Think of this as a poster for your app
- 10 MB size limit
- Screenshots - at least one and up to 5. Each screenshot may have an associated text description to go with it.
- PNG file format (no transparency)
- Dimensions - minimum 1200px wide by 800px high
- Screenshots should show the actual app in use and highlight a variety of features and capabilities
- 10 MB size limit for each
- Subjects
- Grade levels
- Device compatibility
- Pricing
- Legal information - link to privacy policy and terms of service
5. Sign data sharing agreement
Review our example standardized DSA that governs your relationship with the teachers who install your software through the Library and Sign Up with Clever and email [email protected] to receive the DocuSign version of this form.
6. Submit for certification to be included in the Library
Once you’ve tested your integration and meet all of the requirements, submit your integration by filling out this certification survey. We’ll then review your integration and send you a summary email. If all looks good, we’ll certify you as a launch partner and create a production app in Clever for you.
Updated over 1 year ago
