Getting Started with SAML
Before you get started
Familiarize yourself with SAML terminology:
Identity Provider: In this case, Clever. This entity provides authentication, in other words, confirming the identity of a user
Service Provider: In this case, your application. This entity requests authentication and is where the user will end up after being authenticated.
Assertions/Claims: The attributes that are used to verify the identity of the user. If the assertions match the values that belong to the user, the user will be authenticated.
Setting up Your Account
To get started with a SAML connector, please reach out to [email protected] so that we can issue you an account to access your SAML connector dashboard.
Please have the following information ready:
- Your name
- Your email address
- The name of your application
- A 200x200 png file for your application's icon
- If all of your customers will use the same ACS URL, Entity ID, Login URL, or Name ID Format, please provide those values. If these values are consistent across customers, we can save them a step by hardcoding the values and removing the need for these configuration steps on the district side of things.
- If possible, please provide a metadata file
By default, we will assume the following. If any of these will not be true for your SAML connection, please notify the Partner Engineering team in your email.
- Assertions will not be encrypted
- The hash algorithm used will be SHA-1
- Assertions will be signed
- Responses will not be signed
- A signing certificate will not be included in a response
- You will use a unique Entity ID
Finally, please let us know how you are planning to map the attributes for your SAML assertions.
Getting Access
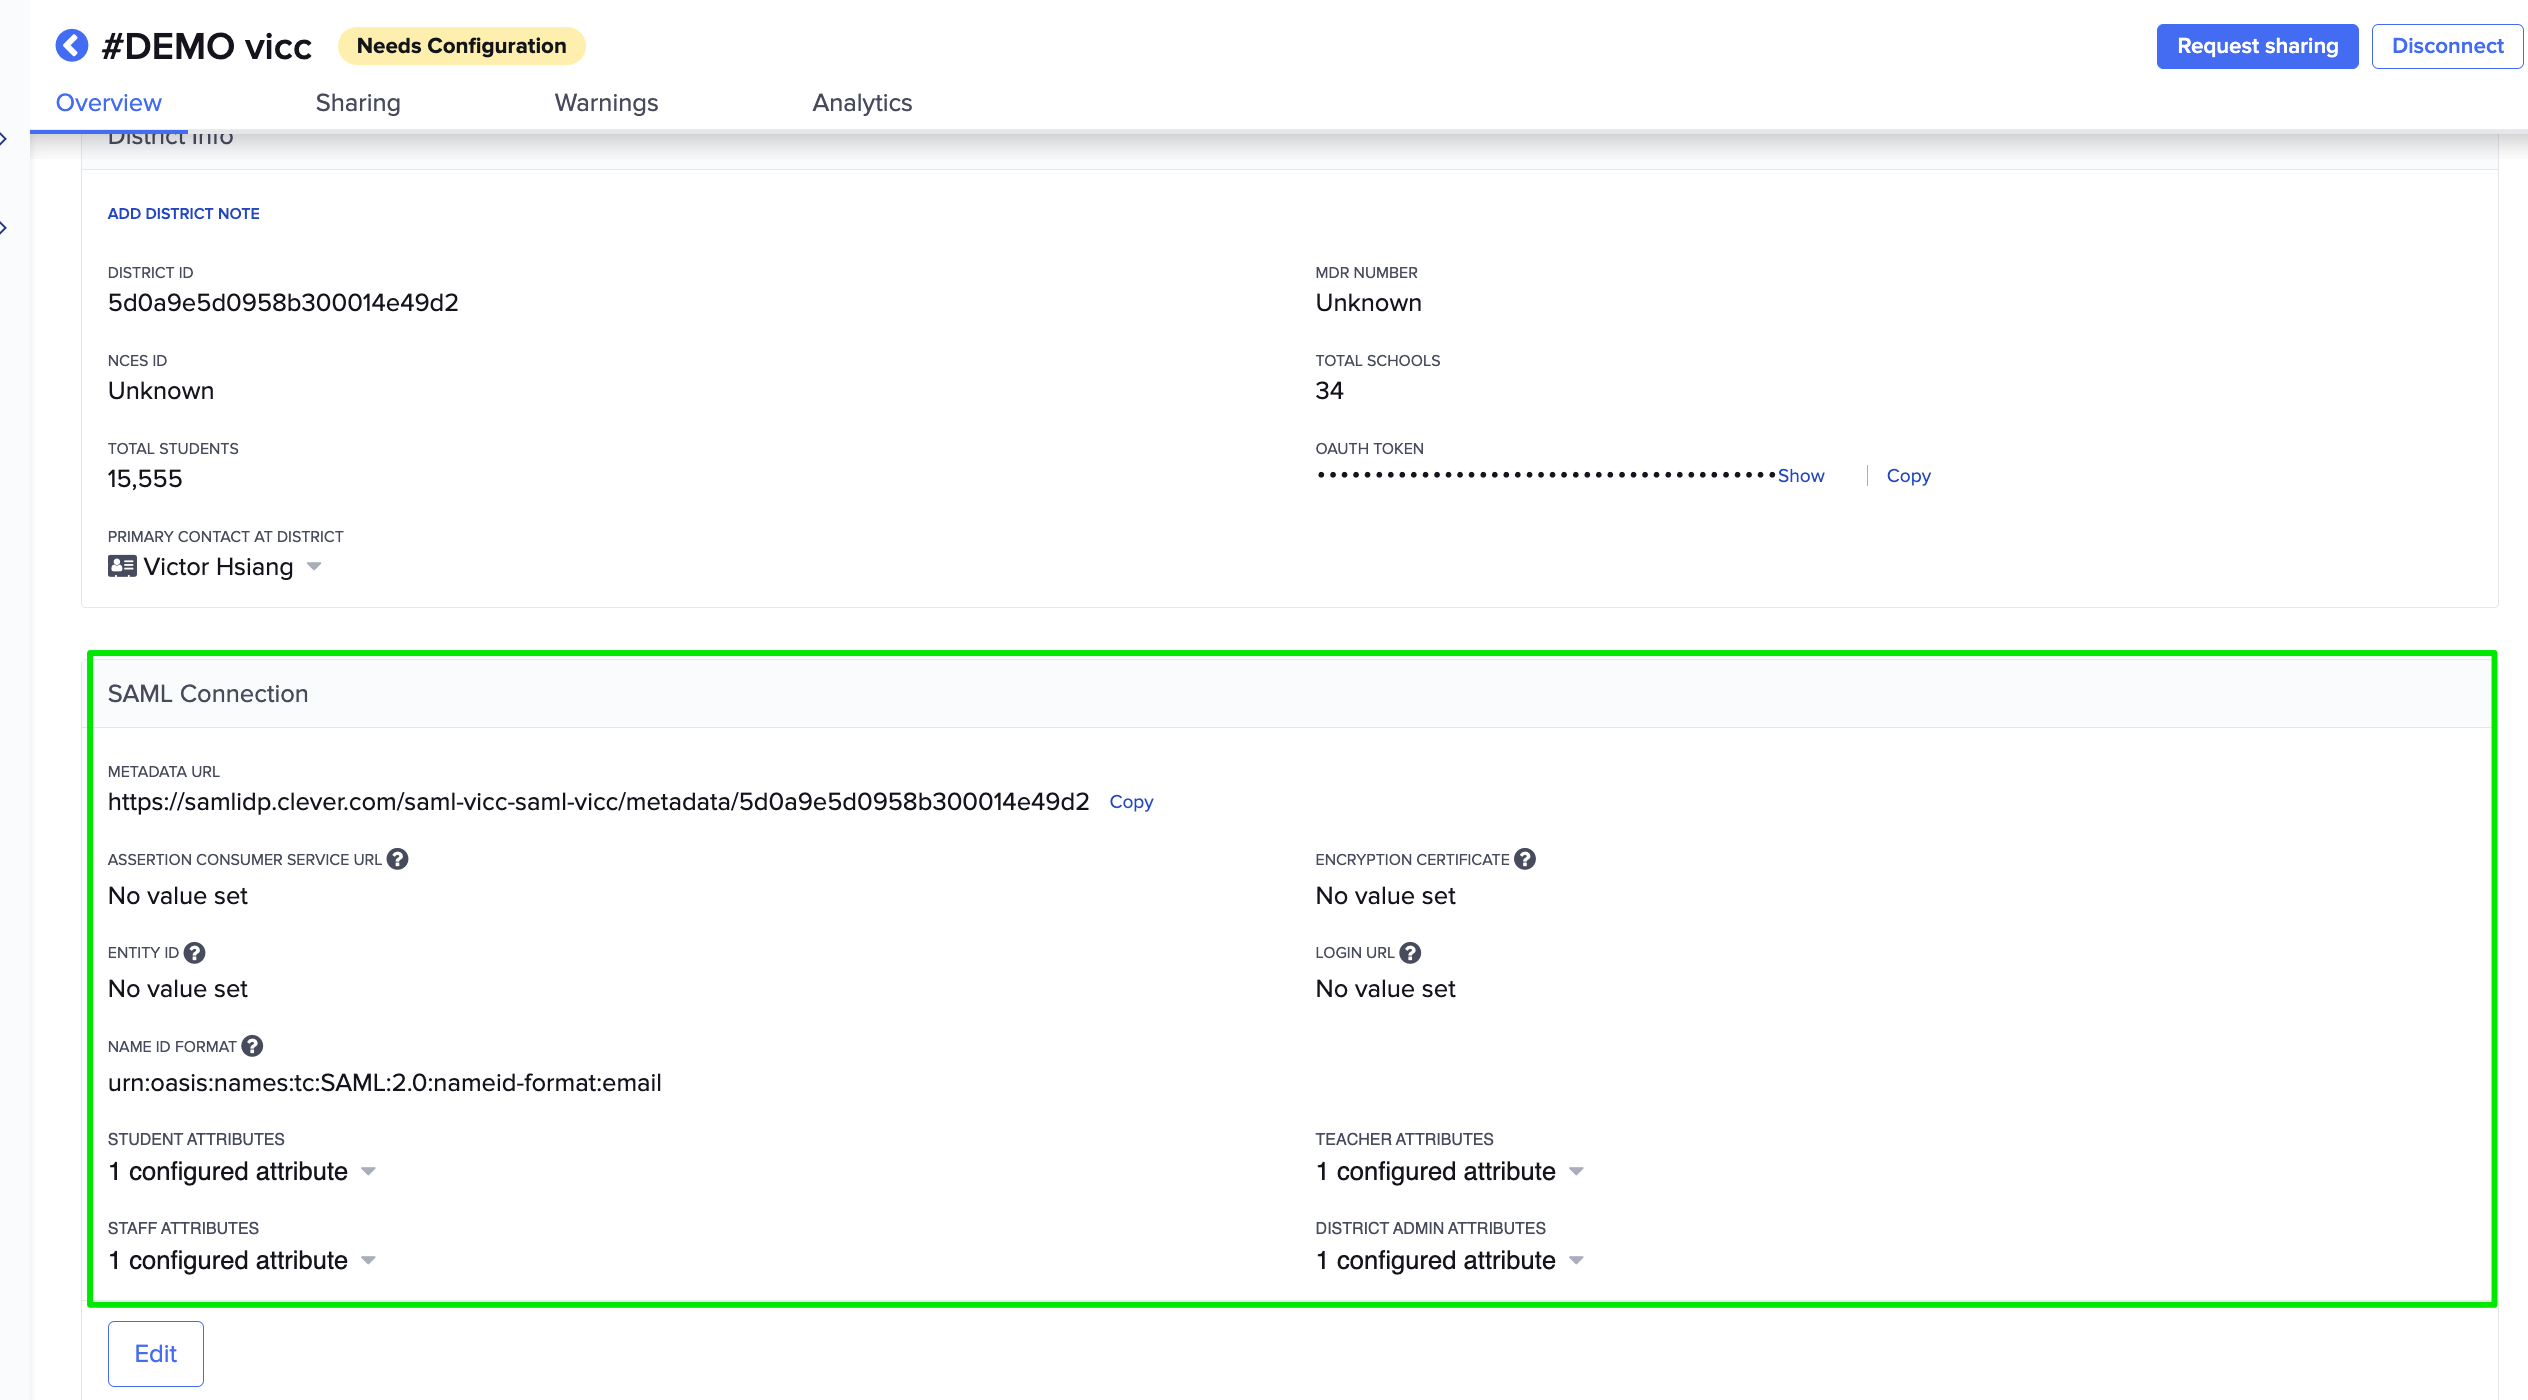
Given this information, Clever Partner Engineering will get the following set up for you:
-
A developer dashboard
- You'll be able to access all relevant SAML IdP information from this dashboard.

- You'll be able to access all relevant SAML IdP information from this dashboard.
-
A sandbox demo district with test users
-
An established connection between your developer dashboard and the sandbox district with SAML configurations according to your specifications
Configuration and Testing
If all the information you provided was correct and the configuration steps have been completed on the Service Provider's end, you can already begin testing! You will want to ensure that your Service Provider app has provisioned accounts that can be accessed using claims on attributes belonging to your sandbox district users.
For example, if your SAML connection will be making assertions on email address, please ensure that there is a user account in your app that has the same email address as a user in your sandbox district.
You can test the connection from your Service Provider dashboard if you have one. Otherwise, please refer to Testing Logins for more information on testing.
Launching your Connection
Once testing is complete, our Partner Engineering team will work with you to move your SAML connector to the production environment in Clever so that you can get started connecting with districts and end users!
OAuth Integrations and SAML
If you are building an OAuth integration, you cannot use the same developer dashboard to manage your SAML connector. Be sure to ask for an additional developer account if you plan on starting an OAuth integration.
Updated about 1 month ago
