

Setting up Clever Single Sign-On
Set up Clever Single Sign-On as the authentication portion of an SSO + Rostering integration.
Clever Complete Agreement RequiredThis feature is included with a Clever Complete subscription. Sign up here or email your Application Success Manager to learn more.
SSO-only integrations are no longer supportedClever no longer supports new standalone SSO-only integrations. To implement district-managed Clever SSO, your application needs a Clever Complete agreement and should use SSO as part of an SSO + Rostering integration.
If you need access, contact your Application Success Manager or [email protected].
Before you continue readingBe sure that you have a basic understanding of how the OAuth 2.0 authorization grant flow works with Clever. See Getting Started with Clever SSO
You will also need to ensure that you already have access to a developer dashboard at https://apps.clever.com. If you do not have a dev app, please sign up for one here. If a team member of yours has already created a dashboard, they can add you by referring to this article
Table of Contents
Overview
Developer Dashboard
Elements of the Dashboard
Settings in the Dashboard
Overview
This page will walk you through the steps of getting a Clever Single Sign-On integration up and running with Clever. You can read more details about the Dashboard for application partners here: For App Partners: Navigating the Clever Dashboard.
Developer Dashboard
Before you even begin building your SSO integration, it's important to familiarize yourself with the Clever developer dashboard.
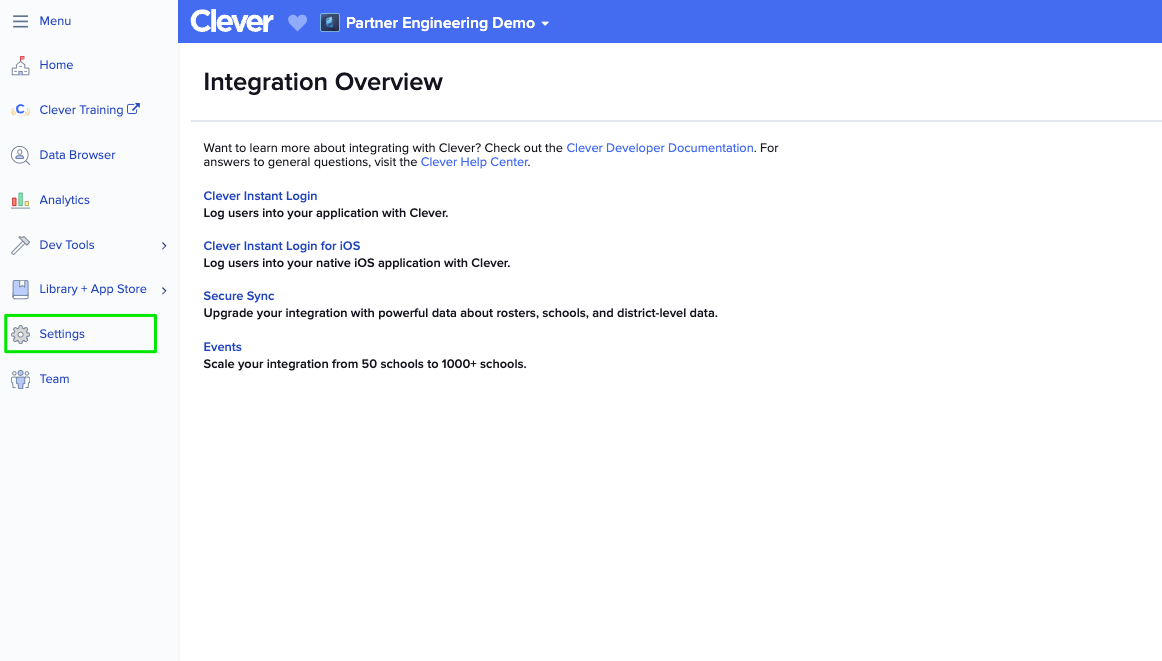
When you log in to your developer dashboard, you should arrive at the landing page, as shown below:
**Take this opportunity to click around and explore!
Elements of the Dashboard
- Home
- This is where your district connections will be managed. By default, your developer account should already be connected to a sandbox #DEMO district. This district contains test users that can be used later on in development.
- Clever Training
- This is a link to some Clever training modules that will be helpful in familiarizing you with the Clever ecosystem, including the district perspective.
- Data Browser
- This feature allows you to browse the population of users and other Clever objects connected to your application. You will not have access to this feature if you don't have the Secure Sync access tier.
- Analytics
- This page will provide basic usage data on your SSO integration once it is connected with production users.
- Dev Tools
- This group of pages includes developer documentation links and tooling that will not be relevant to this integration type.
- Library
- This group of pages includes tooling and resources specifically for the Library integrations and will not be relevant to this integration type.
- Settings
- Includes basic application information fields, client credentials, and SSO settings. It is important that you become familiar with this page.
- Team
- Allows the dashboard owner(s) to manage users who will have access to the dashboard.
Settings in the Dashboard
Once you are ready, click into your Settings as highlighted by the green box in the image above.
Notice that there are three different tabs:
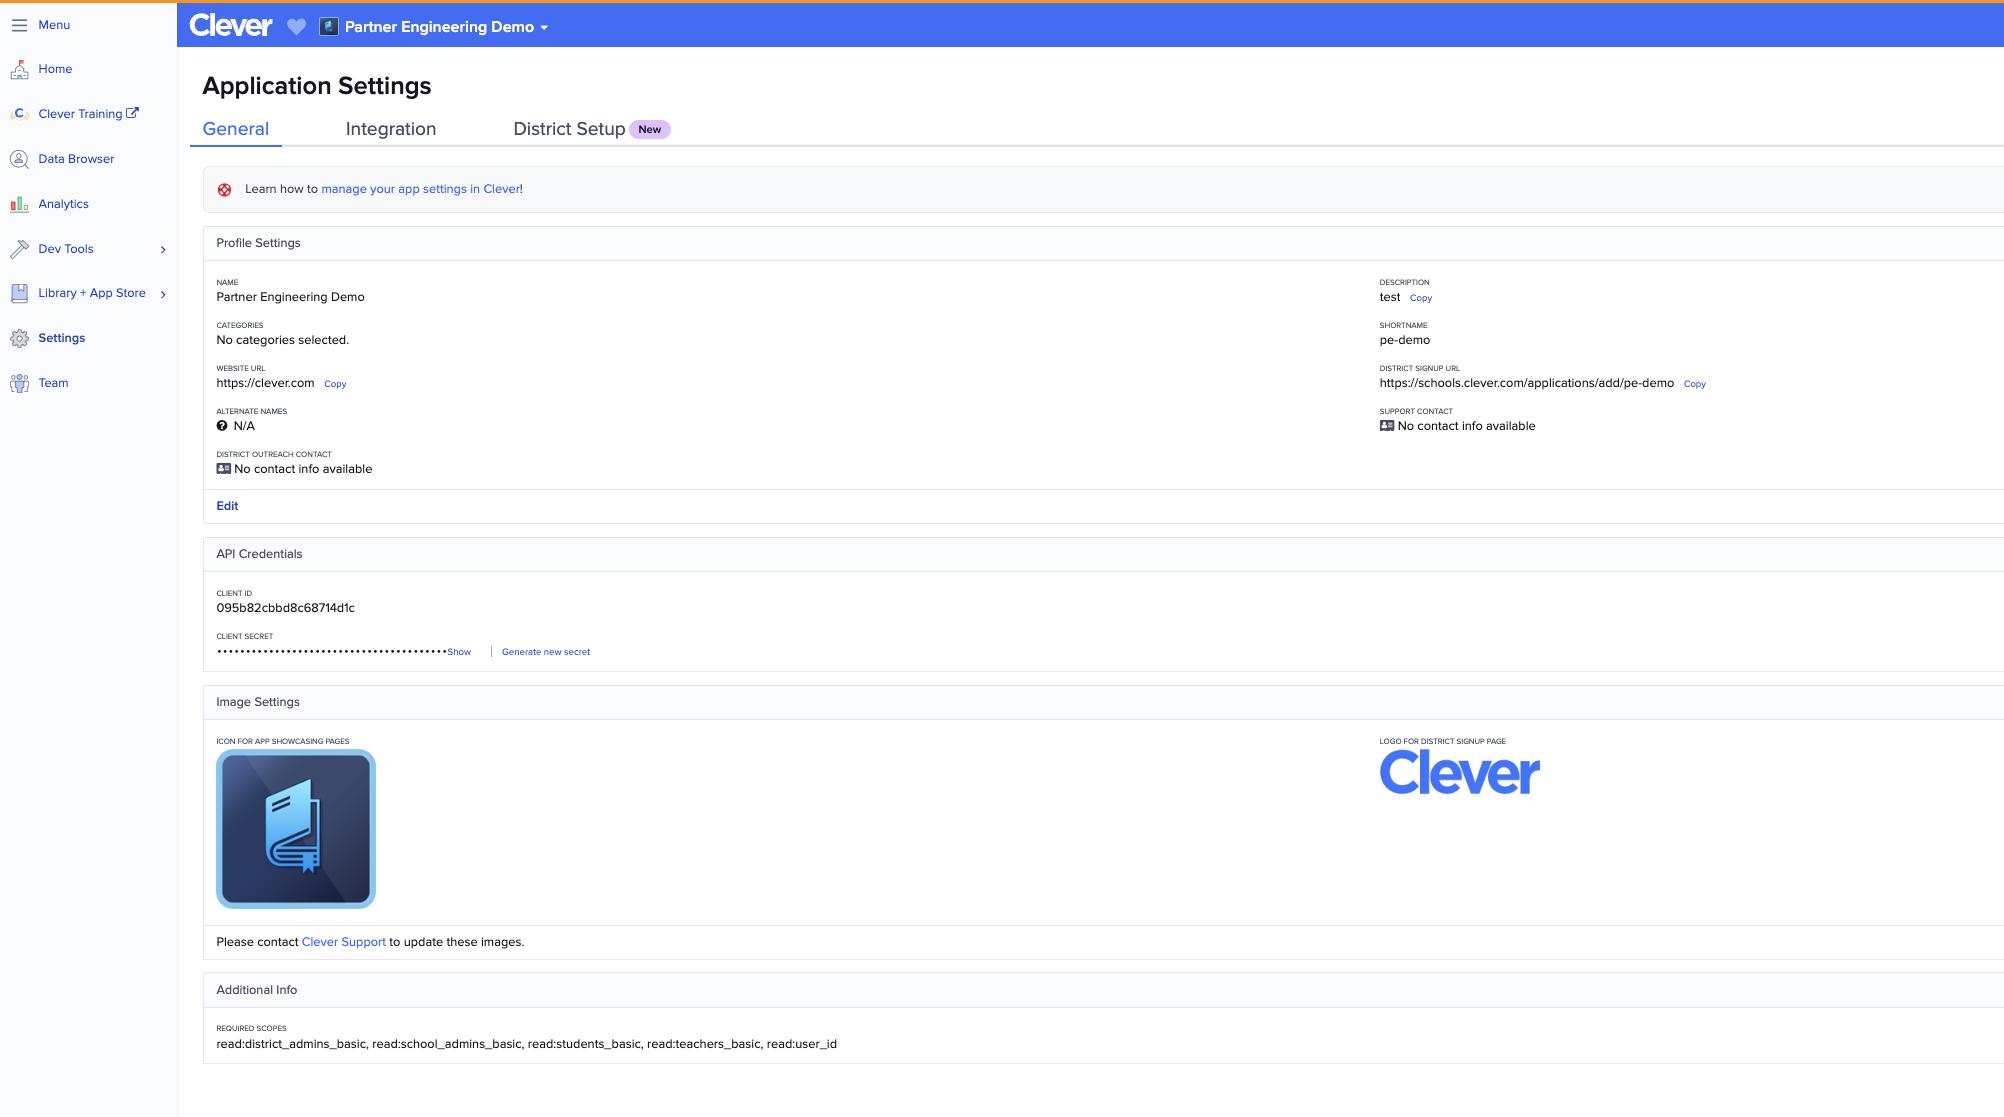
- General
- Profile Settings: You can provide some basic information about your application
- API Credentials: You can use these credentials to access the Clever identity API when building your SSO integration
- Image Settings: This area shows the icon that will be displayed to district users once your application is certified. At this time, you are unable to update this image in the dashboard. If you need, you can send your icon to [email protected] in 200x200 png format.
- Additional Info: This section contains your API scopes. For the Clever Single Sign-On access tier, you should have the following scopes:
- read:district_admins_basic, read:school_admins_basic, read:students_basic, read:teachers_basic, read:user_id
- Integration
A few of the settings in this page are REQUIRED when building an SSO integration with Clever.
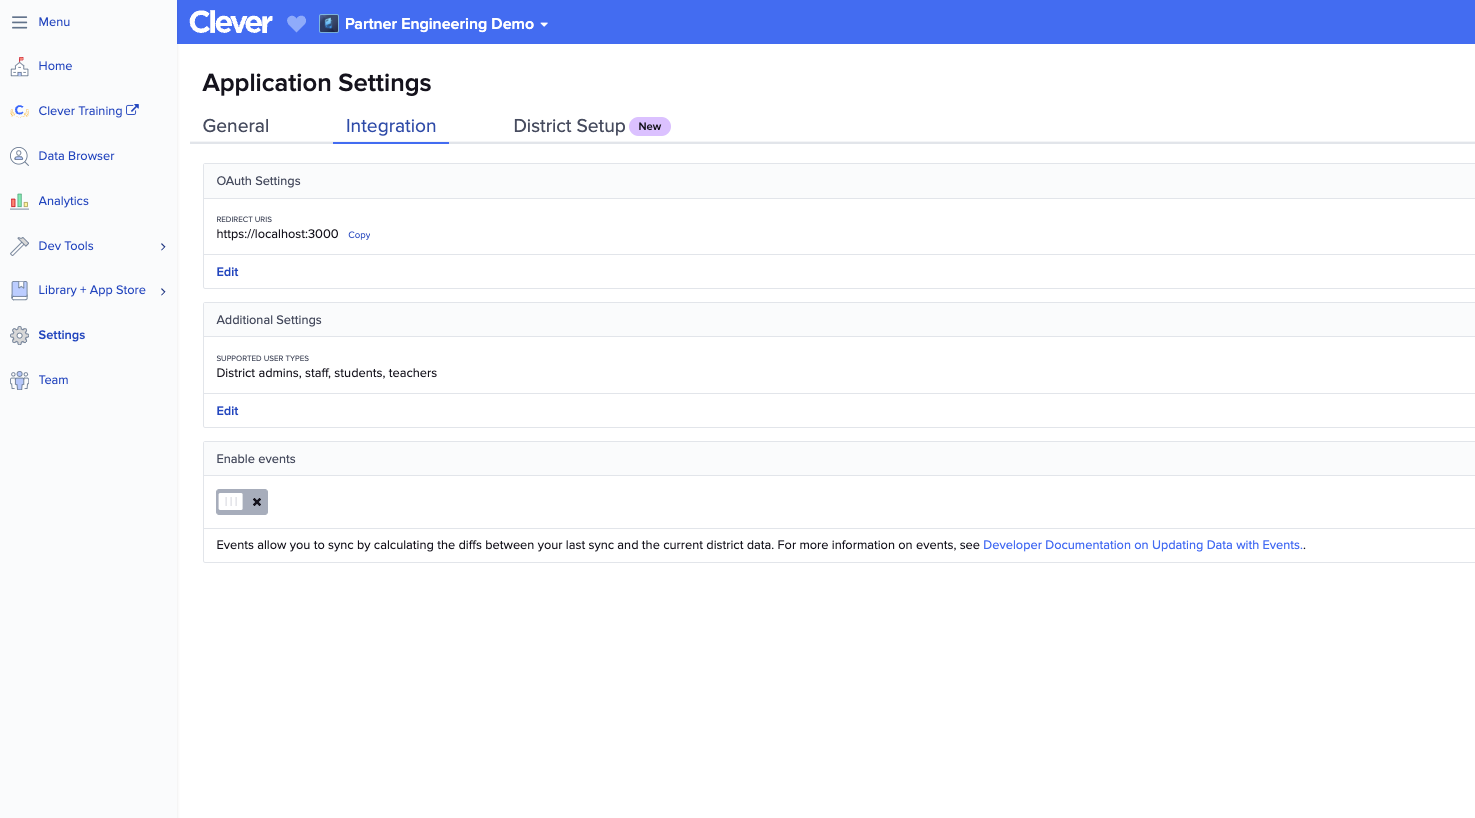
- OAuth Settings (REQUIRED):
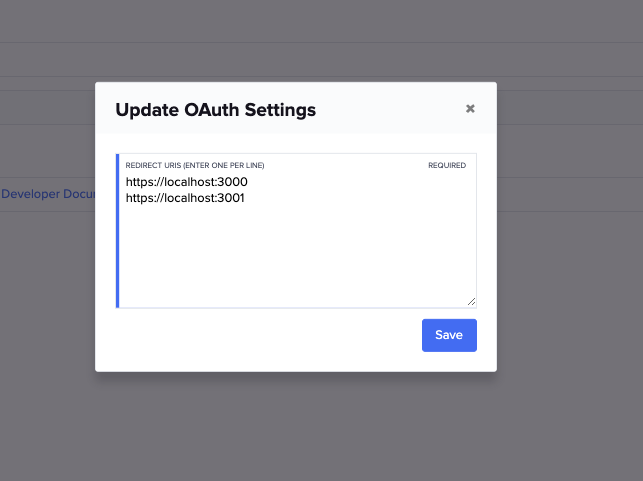
- This section contains the redirect URIs that will be used for your SSO integration. The URIs provided here will be associated with the services you build to process an authentication request from Clever.
- Please note that you can add multiple redirect URIs to this list by adding each subsequent one on a new line.
- It's worth noting that unless otherwise specified, Clever will default to the first redirect URI in the list. Be sure to account for this during development.
- You can expand the box by dragging the hash mark in the lower right corner.
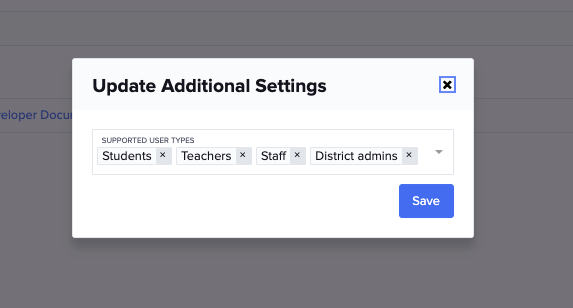
- Additional Settings (REQUIRED):
- This section contains Supported User Types. This setting controls which user types have access to SSO through your integration.
- Be sure to set this up correctly and consider which user types you will be serving with this integration.
- Enable events:
- This setting is not relevant to this integration type
- District Setup
- You can review this Help Center article for instructions and background on these settings: For App Partners: District setup recommendations.
Updated about 2 months ago