

OAuth Implementation
Implement Clever OAuth, understand what SSO tokens can access, and handle login flows from Clever Portal, Instant Login, and Log in with Clever.
Clever Complete Agreement RequiredThis feature is included with a Clever Complete subscription. Sign up here or email your Application Success Manager to learn more.
Use this page to implement Clever OAuth, understand what SSO tokens can access, and handle login flows from Clever Portal, Instant Login, and Log in with Clever.
Overview
Clever Single Sign-On uses the OAuth 2.0 authorization code grant flow.
In this flow, a user authenticates with Clever, Clever redirects the user back to your application with an authorization code, and your application exchanges that code for an access token. If your app is configured for OIDC, Clever can also return an identity token.
OAuth and OIDC data access
Access tokens
Access tokens acquired through the Clever OAuth flow do not grant full Data API access. They can only access:
/me— returns the tokentype, Clever user ID, and district ID/districts/{id}— whereidis the district Clever ID/users/{id}— whereidis the user Clever ID
If you need full roster access, use Secure Sync.
Identity tokens
If your application is configured for OIDC, Clever can also return an identity token.
Identity tokens include these claims:
user_id— the Clever user ID for API versions before v3.0user_type—student,teacher,staff, ordistrict admindistrict— the user’s Clever district IDmulti_role_user_id— the Clever user ID for API v3.0 and lateremail— the user’s email, if availableemail_verified—falseby default; contact Clever Support if you need this claim to betruegiven_name— the user’s first namefamily_name— the user’s last name
Identity tokens also include standard metadata claims:
iss— alwayshttps://clever.comsub— the multi-role Clever user ID used for API v3.0 and lateraud— your application client IDiat— the token creation timeexp— one hour after token creationnonce— used to prevent CSRF; this must match thenoncevalue from the original/authorizerequest when provided
user_idandmulti_role_user_idare different
multi_role_user_idmatchessub. Make sure your implementation uses the right identifier for the API version you support.
OAuth flow
Clever expects SSO implementations to use the authorization code grant type.
- A user initiates login.
- Clever authenticates the user if needed.
- Clever redirects the user to your application’s redirect URI with an authorization code.
- Your application sends that authorization code to Clever’s token endpoint.
- Clever returns an access token and, if configured, an identity token.
- Your application uses the access token to identify the user and retrieve the user data it needs.
Always version your/merequestCall
/mewith an explicit API version. This ensures you get the correct Clever user ID format for the API version your integration uses.
State parameters are not included in Clever-initiated loginsClever-initiated logins that start from the Clever Portal or other Clever-managed entry points do not include a
stateparameter by default.If your application requires
state, ignore the incoming Clever-initiated login and restart the authentication flow from your own site so you can includestateyourself.For more detail, see https://dev.clever.com/docs/best-practices-edge-cases#state-parameters.
Initiating logins
Users can start Clever SSO in three ways:
- from the Clever Portal
- from an Instant Login link
- from a Log in with Clever button
Your integration should be able to handle all three.
Users may authenticate into Clever through different identity providers set by their district. Your application does not need to handle the district’s identity provider configuration directly.
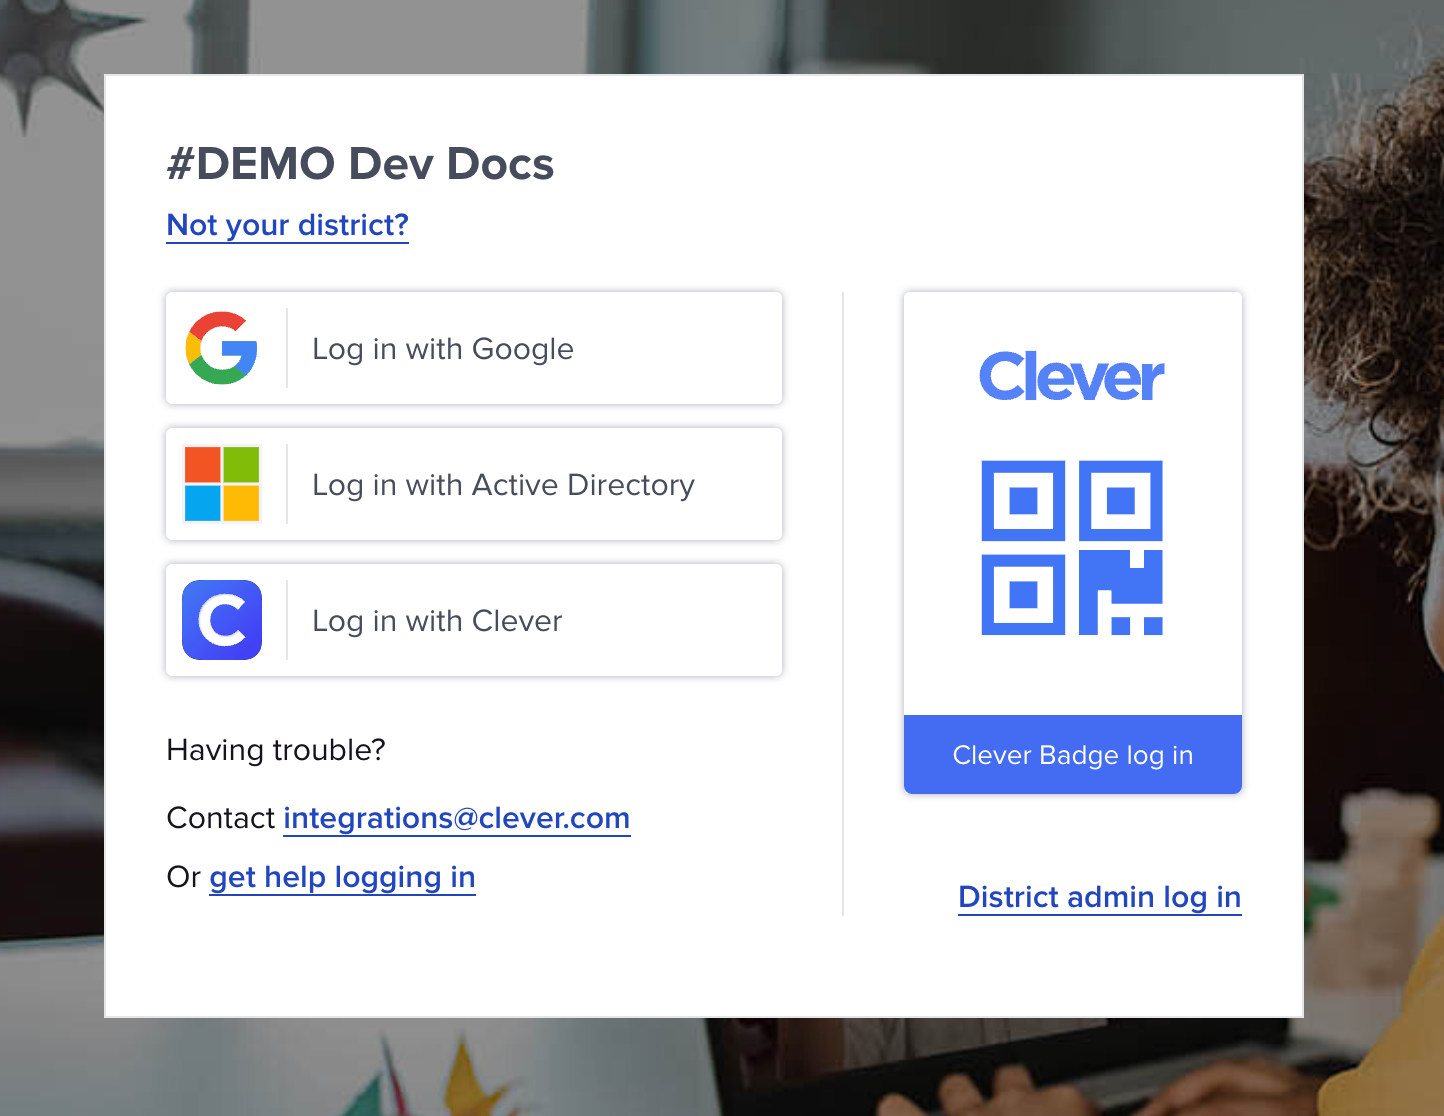
Screenshot of a Clever login page with multiple identity providers.
SSO from the Clever Portal
Many districts use the Clever Portal as the main launch point for applications. Once your app is certified and connected to a district, users can launch it from their Clever Portal.
When a user clicks your app icon, Clever redirects the user to your primary redirect URI with an authorization code.
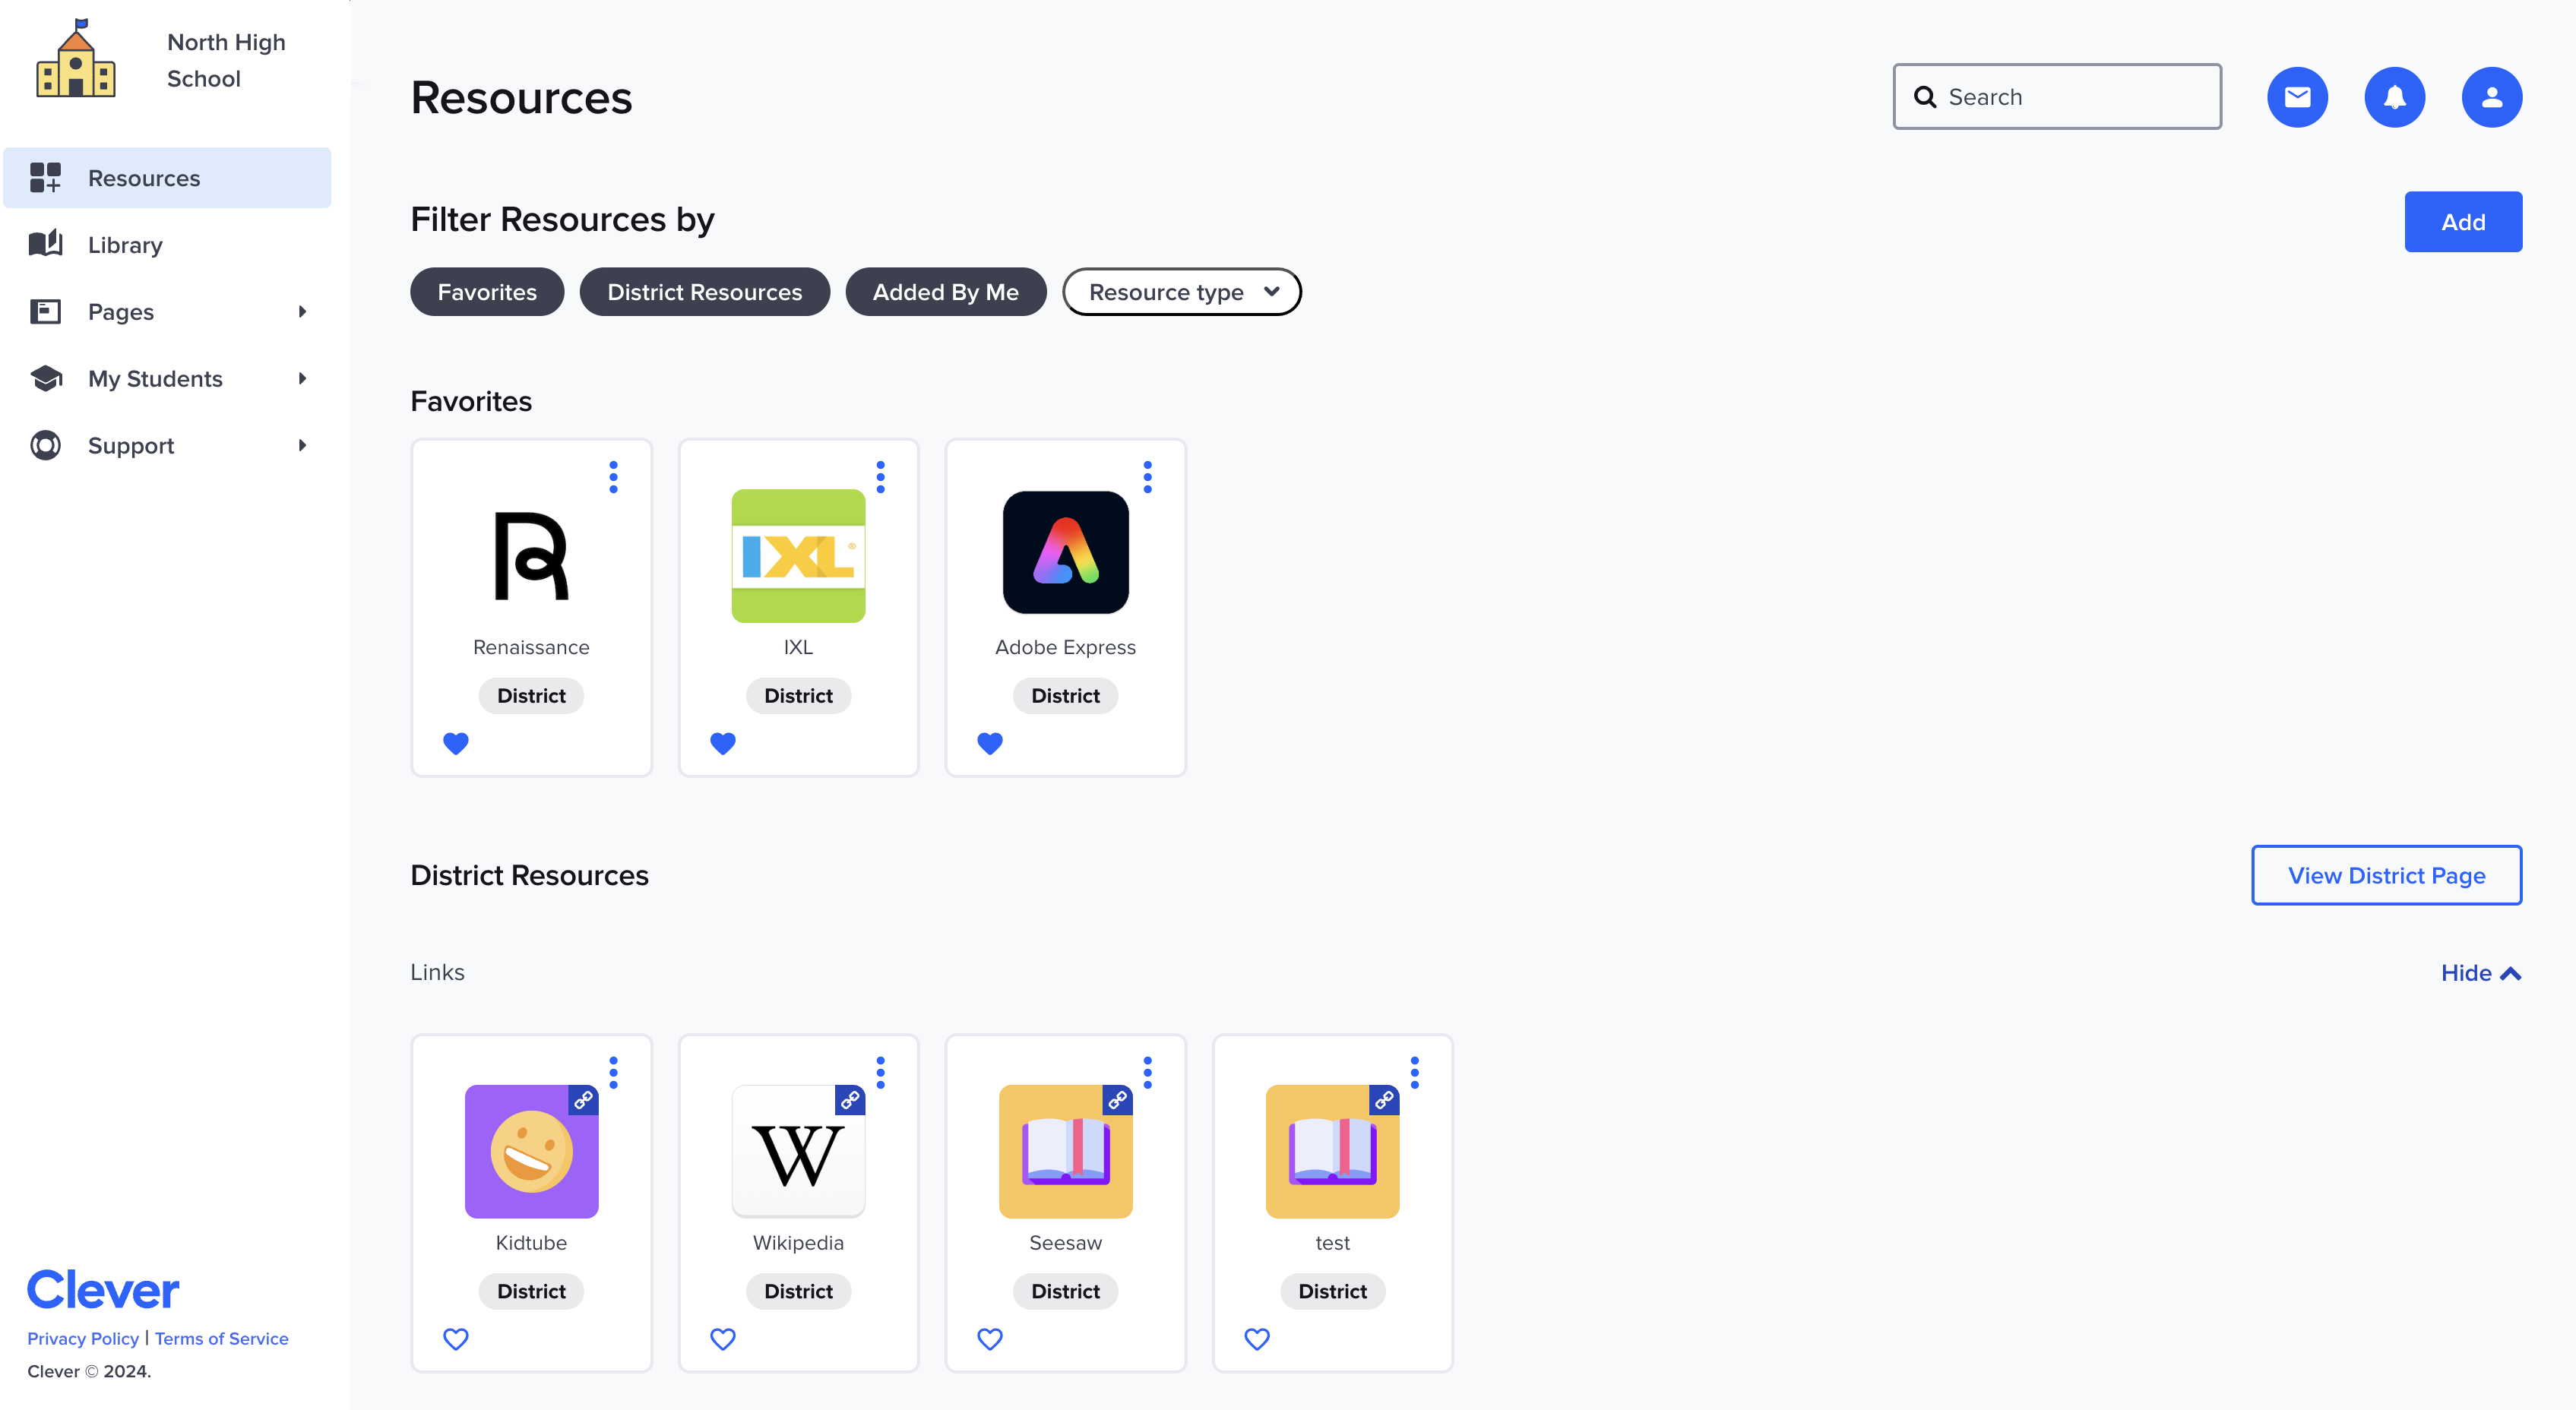
Screenshot of the Clever Portal from a teacher's perspective.
You can also review the end-user flow in this Demo Experience.
Typical user flow:
- The user opens the district’s Clever login page.
- The user selects the correct identity provider for that district.
- The user authenticates with that identity provider.
- The user reaches the Clever Portal.
- The user selects your app icon to start the login flow into your application.
SSO using Instant Login links
Some districts prefer not to use the Clever Portal. To support those districts, Clever provides Instant Login links.
Example Instant Login link:
https://clever.com/oauth/instant-login?client_id=YOUR_CLIENT_ID&district_id=THE_DISTRICT_IDTypical user flow:
- The user clicks an Instant Login link, usually from a district portal, homepage, or bookmark.
- The user is taken to the Clever login page unless already authenticated.
- The user authenticates if needed.
- Clever starts the login flow into your application.
SSO using a Log in with Clever button
If users typically start from your own login page, you can add a Log in with Clever button to your site.
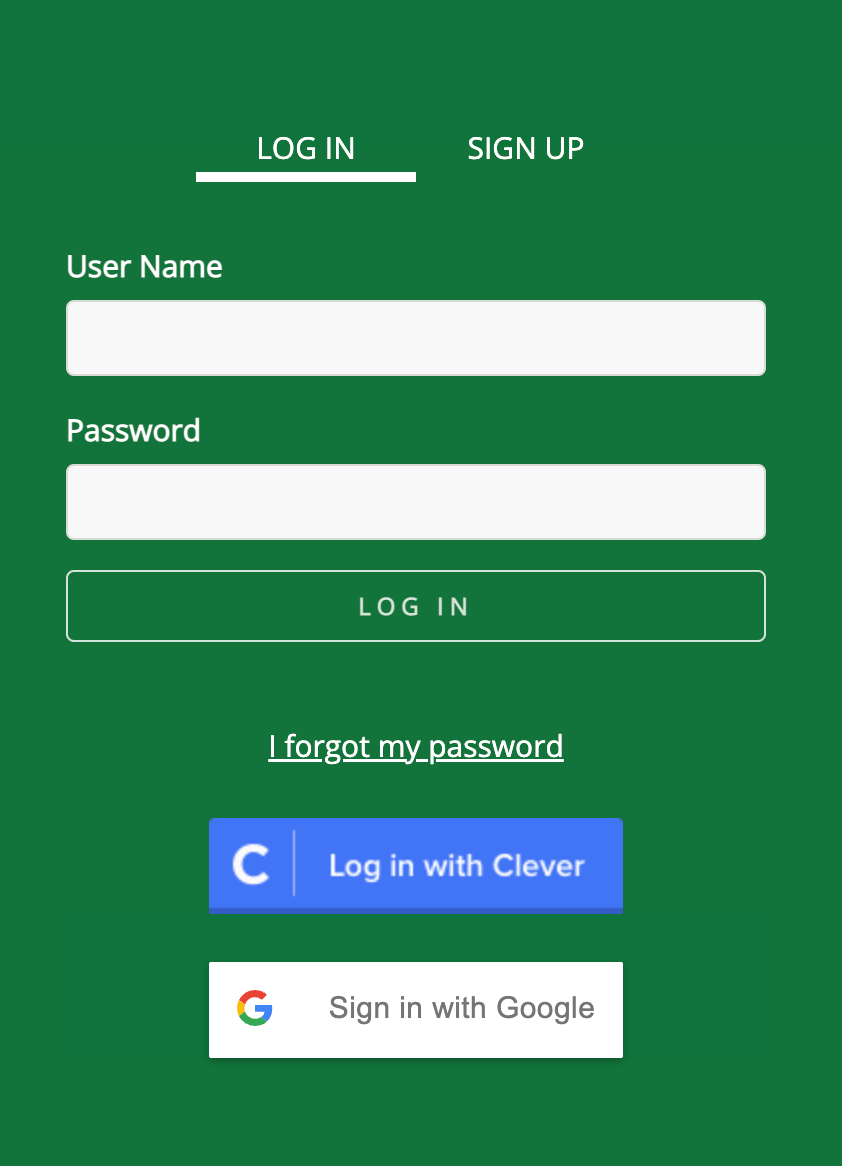
Example LIWC button using a Clever button asset
Example LIWC button using a Clever icon asset
A Log in with Clever button is a link to https://clever.com/oauth/authorize with parameters that identify your application.
At minimum, include:
response_typeclient_idredirect_uri
Example LIWC URL:
https://clever.com/oauth/authorize?response_type=code&redirect_uri=https%3A%2F%2Fexample.com&client_id=YOUR_CLIENT_IDYou do not need to include district_id for a general login link on your own site. Clever will use district context already stored in the user’s browser when available.
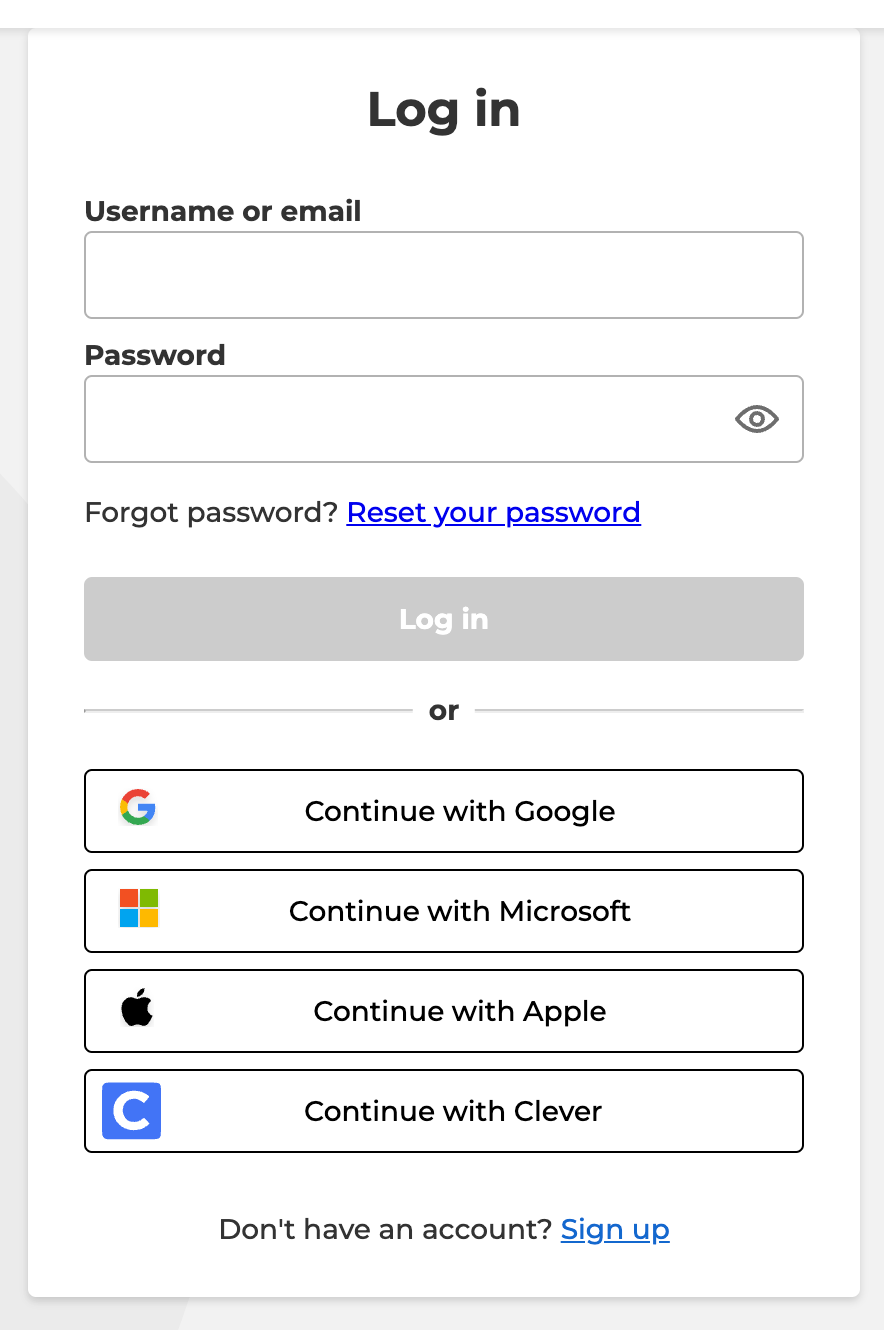
If district context is not available, the user sees the Clever school picker.
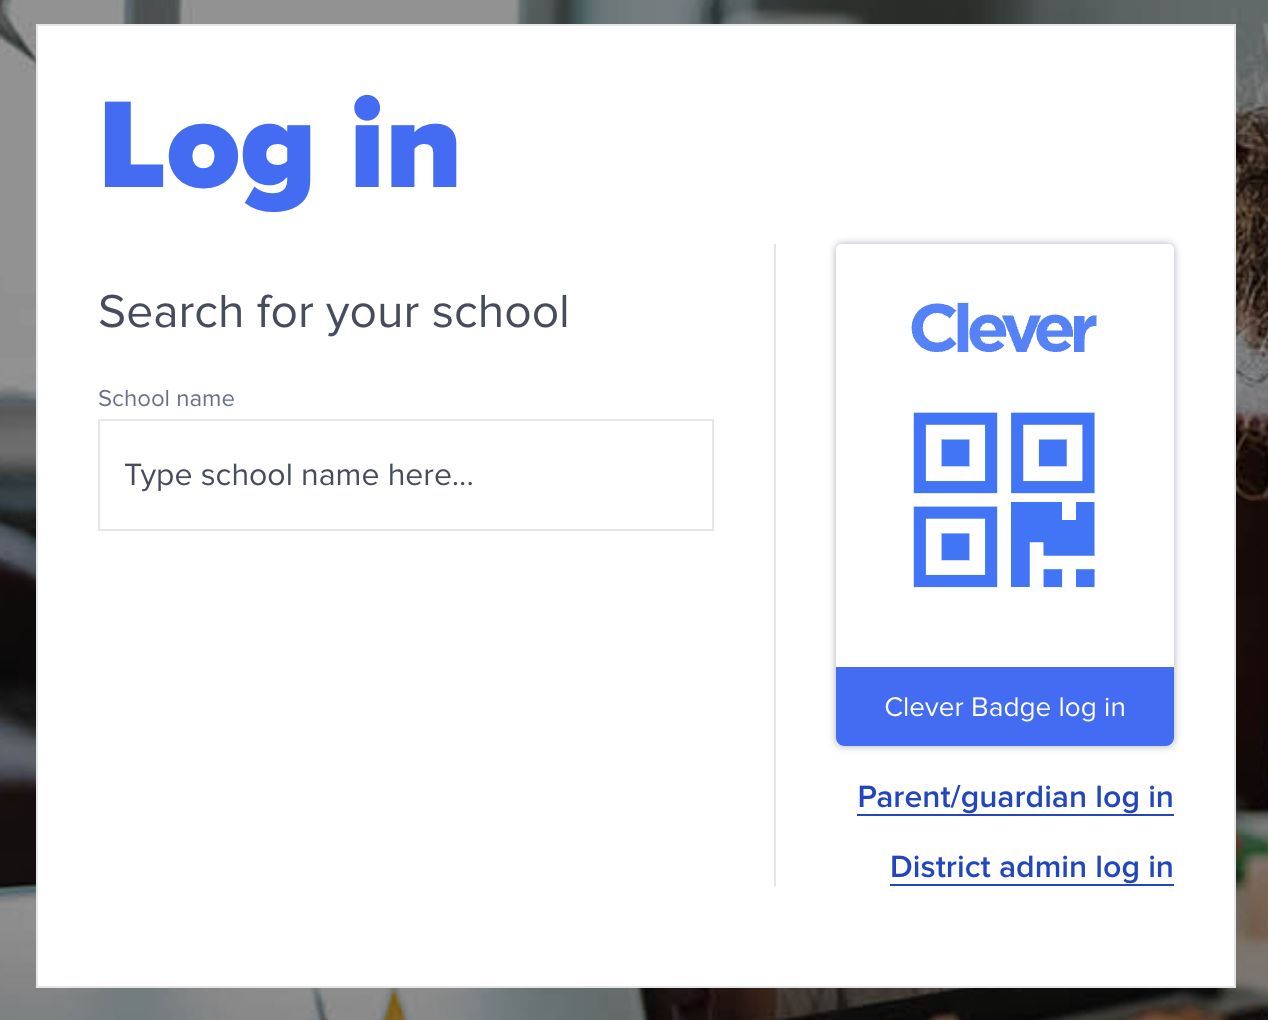
Screenshot of the Clever school picker
Testing with sandbox districtsYou cannot search sandbox districts and schools by name in the school picker. Use the sandbox
district_idinstead.
If your application has district-specific login pages, you can add district_id to skip the school picker and send users directly to the district login page.
Example:
https://clever.com/oauth/authorize?response_type=code&redirect_uri=https%3A%2F%2Fexample.com&client_id=YOUR_CLIENT_ID&district_id=YOUR_DISTRICT_IDLIWC button assets
You can find Log in with Clever assets here.
Authenticating users
Acquire the authorization code
When Clever redirects the user back to your application, the redirect URI includes a code parameter.
Example:
https://primary.redirect?code=code
At this point, your application still does not know who the user is. Your next step is to exchange the code for tokens.
Redirect URI parameters
These are the parameters Clever adds to your redirect URI:
| Parameter | Guaranteed | Value |
|---|---|---|
code | Yes | Authorization code generated by Clever |
scope | Yes | Scope assigned to your application |
state | Only if provided in the LIWC link | The same state value your app originally sent |
Exchange the code for tokens
To exchange the code, send a POST request to https://clever.com/oauth/tokens.
Use HTTP Basic Authentication with your client ID as the username and your client secret as the password.
Build the Basic Auth header
If your HTTP client supports username/password Basic Auth directly, use your client ID as the username and your client secret as the password.
If you need to build the header yourself:
Authorization: Basic + Base64.encode(client_id + ":" + client_secret)
Supported POST body formats
Clever accepts these content types at /oauth/tokens:
application/x-www-form-urlencodedapplication/json
Unsupported content typesClever does not accept other POST body formats such as
multipart/form-data. If you seeinvalid request / invalid content-typeerrors, make sure you are using one of the supported content types.
The token request body must include:
| Parameter | Example | Description |
|---|---|---|
code | heRte321 | The authorization code received on your redirect URI |
grant_type | authorization_code | Always authorization_code in this flow |
redirect_uri | https://flightschool.edu/oauth | The exact redirect URI where Clever sent the code |
Example using application/x-www-form-urlencoded:
POST https://clever.com/oauth/tokens
Authorization: Basic YW5WcFkyVnFkV2xqWldwMWFXTmxDZzpjY1hwWTR0cWRZbGVjNHAxYUdsMXVJ
Content-type: application/x-www-form-urlencoded
Content-length: 107

code=heRte321&grant_type=authorization_code&redirect_uri=https%3A%2F%2Fflightschool.edu%2Foauth
Example using application/json:
POST https://clever.com/oauth/tokens
Authorization: Basic YW5WcFkyVnFkV2xqWldwMWFXTmxDZzpjY1hwWTR0cWRZbGVjNHAxYUdsMXVJ
Content-type: application/json
Content-length: 113

{"code":"heRte321","grant_type":"authorization_code","redirect_uri":"https://flightschool.edu/oauth"}
Token response
Clever returns tokens when:
client_idandclient_secretare validredirect_uriexactly matches the URI where Clever sent the codecodeis valid
Authorization codes expire quicklyAuthorization codes are valid for one minute and can only be exchanged once.
Example response (id_token is only present when your app is configured for OIDC):
{
  "access_token": "access_token_here",
  "id_token": "id_token_here"
}
Token expirationTokens expire after 24 hours and cannot be refreshed. Do not use them for long-term user identification.
Clever user sessions expire after 2 hours.
Use the returned tokens
Access tokens
After you receive an access token, call https://api.clever.com/v3.0/me to retrieve the user’s Clever ID, district ID, and token type.
In most implementations, you should identify the token owner immediately after exchange.
Identity tokens
If your app receives an identity token, decode and verify it using a JWT library rather than parsing it manually.
A list of language-specific JWT libraries is available at jwt.io/libraries.
Bearer tokens
Use the access token as a bearer token in the Authorization header:
GET https://api.clever.com/some_clever_resource
Authorization: Bearer jsfUI2131da2f
The authorized_by field
authorized_by fieldDistricts must authorize Clever Single Sign-On connections before users can log in with them. Districts do this by connecting to your app at the district level and configuring sharing permissions.
To learn more:
You can identify a district-authorized SSO request by looking at the /me response. In a Clever Single Sign-On flow, authorized_by is set to district.
{
  "type": "user",
  "data": {
    "id": "5fc43758db087d0be186c29d",
    "district": "5d0a9e5d0958b300014e49d2",
    "type": "user",
    "authorized_by": "district"
  },
  "links": [
    {
      "rel": "self",
      "uri": "/me"
    },
    {
      "rel": "canonical",
      "uri": "/v3.0/users/5fc43758db087d0be186c29d"
    },
    {
      "rel": "district",
      "uri": "/v3.0/districts/5d0a9e5d0958b300014e49d2"
    }
  ]
}
Updated about 1 month ago